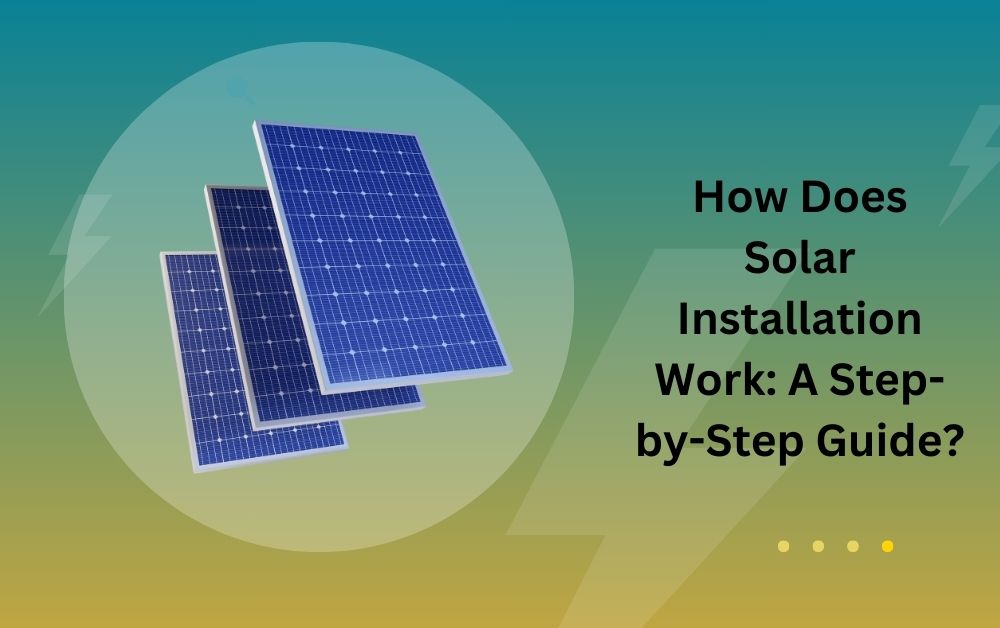
Solar energy has become a popular choice for homeowners and businesses looking to save on energy costs and contribute to a cleaner environment. If you’re considering making the switch to solar, understanding how solar installation works is essential. This guide will walk you through the solar installation process, making it simple and easy to grasp.
What is Solar Energy?
Understanding Solar Energy
Solar energy is the energy that comes from the sun. It is harnessed using solar panels, which convert sunlight into electricity. This renewable energy source is abundant and can be used for various applications, including heating, lighting, and powering electrical devices.
Note: Embrace renewable energy with Solar installation in Tanzania to power your home sustainably. The benefits include reduced electricity bills and a smaller carbon footprint. With abundant sunlight throughout the year, Tanzania is an ideal location for solar energy solutions. By switching to solar, you can enjoy reliable power while contributing to a greener environment. For expert guidance and top-quality installations, reach out to Tamgo today and make the switch to solar energy!
Benefits of Solar Energy
- Cost Savings: Solar energy can significantly reduce your electricity bills.
- Environmentally Friendly: Solar energy reduces reliance on fossil fuels, decreasing greenhouse gas emissions.
- Energy Independence: By generating your own electricity, you become less dependent on external energy sources.
- Increased Property Value: Homes with solar systems often have higher property values.
Why Choose Solar Installation?
The Importance of Solar Installation
Solar installation allows you to convert sunlight into usable electricity. This process not only helps you save on energy costs but also contributes to environmental sustainability. As the demand for clean energy grows, solar installation becomes an increasingly attractive option for homeowners and businesses alike.
Financial Incentives
Many governments offer financial incentives for solar installation. These can include tax credits, rebates, and grants, making it more affordable to switch to solar energy. These incentives can significantly lower the overall cost of your solar installation.
Step-by-Step Process of Solar Installation
Step 1: Initial Consultation
What Happens During the Consultation?
The first step in the solar installation process is a consultation with a solar provider. During this meeting, a representative will assess your energy needs and evaluate your property. They will discuss the benefits of solar energy and answer any questions you may have.
Key Considerations During Consultation
- Energy Usage: Your solar provider will review your past electricity bills to understand your energy consumption.
- Roof Assessment: The condition, angle, and direction of your roof will be examined to determine the best placement for solar panels.
- Incentives: Your consultant will inform you about available financial incentives and how they can reduce your costs.
Step 2: Site Survey
Why Is a Site Survey Necessary?
After the initial consultation, a site survey will be conducted. This is a detailed inspection of your property to gather information for designing your solar system.
What to Expect During the Survey
- Roof Measurements: The technician will measure your roof’s dimensions and angles to calculate how many solar panels can be installed.
- Shade Analysis: They will assess any potential shading from trees, buildings, or other obstacles that could affect solar panel performance.
- Electrical System Check: The existing electrical system will be evaluated to ensure it can accommodate solar installation.
Step 3: System Design
How Is the Solar System Designed?
Once the site survey is complete, your solar provider will create a customized solar system design tailored to your energy needs and property specifications.
Key Elements of the Design
- Panel Selection: The type and number of solar panels will be determined based on your energy usage and available roof space.
- Inverter Type: The inverter converts the solar energy generated by the panels into usable electricity. Your provider will recommend the best inverter for your system.
- Placement Plan: The design will include a detailed plan for where the solar panels will be installed on your roof.
Step 4: Permitting and Approvals
What Are Permits and Why Are They Needed?
Before installation can begin, necessary permits and approvals must be obtained from local authorities. These permits ensure that the installation complies with building codes and safety regulations.
The Permitting Process
- Building Permits: Your solar provider will submit the required documents to obtain building permits.
- Electrical Permits: An electrical permit may also be needed to ensure the system meets safety standards.
- Utility Approval: Your local utility company will need to approve your solar installation, especially if you plan to connect to the grid.
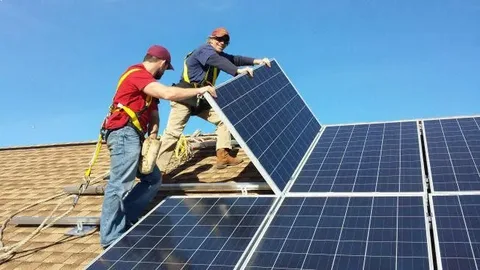
Step 5: Installation
What Happens During Installation?
Once all permits are approved, the actual installation can begin. This process typically takes one to three days, depending on the size of the system.
Steps During Installation
- Preparation: The installation team will prepare your roof and gather necessary equipment.
- Mounting the Panels: Solar panels will be securely mounted to your roof using brackets and rails.
- Wiring: The panels will be connected to the inverter and the electrical system of your home.
- Inverter Installation: The inverter will be installed, typically near your main electrical panel.
Step 6: Inspection
Why Is an Inspection Necessary?
After installation, a final inspection is conducted to ensure everything is installed correctly and safely. This step is crucial for obtaining final approvals.
What to Expect During the Inspection
- Safety Check: An inspector will verify that the system meets safety standards.
- Performance Check: They will ensure that the solar panels, inverter, and electrical connections function properly.
- Compliance Verification: The inspector will confirm that the installation complies with local regulations.
Step 7: Interconnection
What Is Interconnection?
Interconnection refers to connecting your solar system to the local electrical grid. This allows you to draw electricity from the grid when needed and send excess energy back to the grid.
The Interconnection Process
- Utility Notification: Your solar provider will notify your utility company that your system is ready for interconnection.
- Grid Connection: A technician from the utility company will install a bi-directional meter, which tracks both the energy you consume and the excess energy you send back to the grid.
Step 8: Monitoring and Maintenance
How Do You Monitor Your Solar System?
After installation, you can monitor your solar system’s performance through a monitoring app provided by your solar company. This app allows you to track energy production and usage.
Importance of Maintenance
While solar systems require minimal maintenance, regular checks can ensure optimal performance. Here are some maintenance tips:
- Keep Panels Clean: Dust and debris can accumulate on panels. Regular cleaning helps maintain efficiency.
- Monitor Performance: Use the monitoring app to check energy production and identify any issues.
- Schedule Professional Inspections: Consider having a professional inspect your system annually to ensure everything is functioning correctly.
Common Questions About Solar Installation
1. How Much Does Solar Installation Cost?
The cost of solar installation can vary based on several factors, including system size, panel type, and installation complexity. On average, homeowners can expect to pay between $15,000 and $30,000 before incentives.
2. How Long Does the Installation Process Take?
The entire solar installation process, from consultation to interconnection, can take anywhere from a few weeks to several months. Installation itself typically takes one to three days.
3. What Incentives Are Available for Solar Installation?
Many governments offer incentives, such as tax credits, rebates, and grants, to encourage solar installation. These incentives can significantly reduce the overall cost of the system.
4. Do Solar Panels Work in Cloudy Weather?
Yes, solar panels can still generate electricity on cloudy days, though their efficiency may be reduced. Solar panels are designed to capture a broad spectrum of sunlight, including indirect sunlight.
5. How Long Do Solar Panels Last?
Most solar panels come with warranties ranging from 20 to 25 years. However, many panels can continue to function efficiently for 30 years or more with proper maintenance.
Conclusion
Understanding how solar installation works is essential for anyone considering making the switch to solar energy. From the initial consultation to the final inspection, each step plays a crucial role in ensuring that your solar system is efficient and effective.
By following this guide, you can feel confident in your decision to invest in solar energy. Not only will you save on energy costs, but you’ll also contribute to a more sustainable future. If you’re ready to make the switch, start by consulting a reliable solar provider in your area today.
For More Insightful Articles Related To This Topic, Feel Free To Visit: technonetwork.