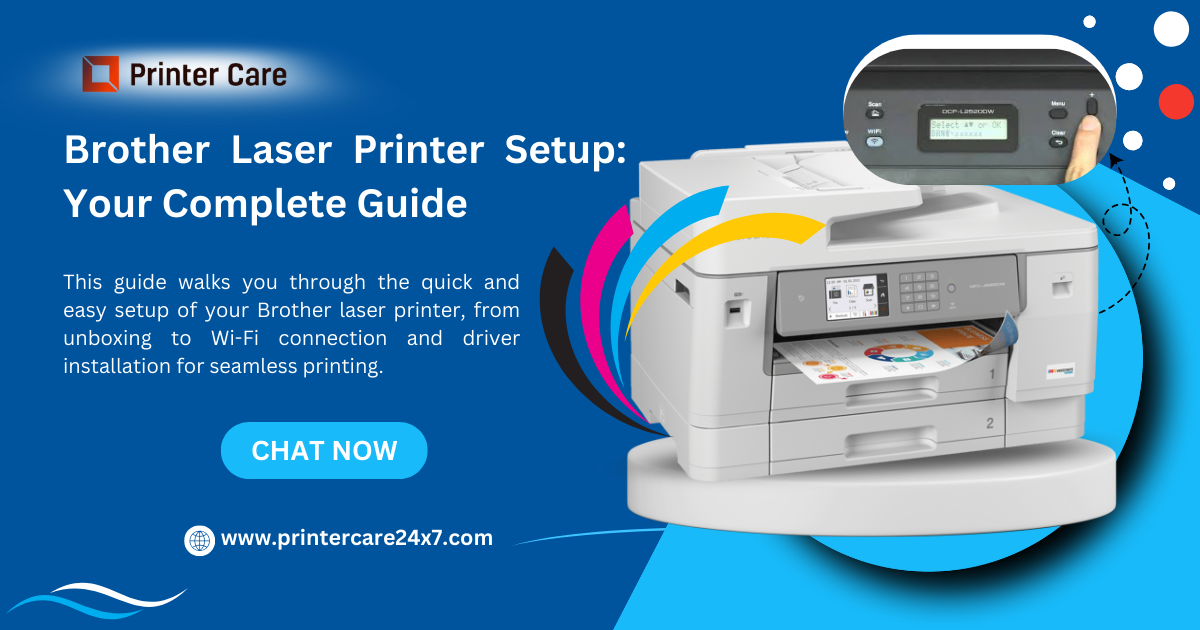
Setting up a Brother laser printer may seem overwhelming, especially if it’s your first time. But don’t worry—this guide is here to walk you through each step, ensuring a smooth and efficient setup process for your new printer. Whether you’re setting up for home use or a small office, follow these instructions to get started quickly and easily.
1. Unbox and Prepare the Printer
Before diving into the setup process, start by unboxing your Brother laser printer carefully. Here’s what to do:
- Remove all packaging materials: Take off the protective tape, foam, and plastic covers from both the printer and its components.
- Check the contents: Ensure that all essential components, including the power cord, toner cartridge, and setup CD (if included), are present.
- Place the printer in the desired location: Make sure you choose a flat, stable surface with enough ventilation space around the printer to prevent overheating.
2. Install the Toner Cartridge and Paper Tray
Most Brother laser printers come with a starter toner cartridge. Installing it correctly is vital for quality prints:
- Open the printer cover: Gently lift the top cover to access the toner compartment.
- Insert the toner cartridge: Remove the protective cover from the cartridge, then insert it into the printer, aligning it with the guides inside.
- Load the paper tray: Pull out the paper tray and load it with plain paper. Adjust the paper guides to fit snugly around the paper, but don’t overfill.
3. Connect the Printer to a Power Source
With the physical setup complete, it’s time to power up the printer:
- Plug in the power cord: Connect the power cord to the printer and plug it into a wall outlet.
- Turn on the printer: Press the power button to turn on your Brother laser printer. Wait for the printer to initialize, which may take a few moments.
4. Choose Your Connection Type (USB, Wi-Fi, or Ethernet)
Brother laser printers typically support multiple connection options. Decide how you’ll connect the printer to your computer or network:
USB Connection:
- Connect the USB cable: Plug one end of the USB cable into your printer and the other into your computer’s USB port.
- Install drivers: Follow the on-screen instructions that appear when you connect the printer to install the necessary drivers, or use the installation CD if provided.
Wi-Fi Connection:
- Access the printer’s network settings: Using the control panel, navigate to the network or Wi-Fi setup section.
- Select your Wi-Fi network: Choose your Wi-Fi network from the list of available networks, then enter the password if prompted.
- Complete the wireless setup: Wait for the printer to connect to your Wi-Fi. Once connected, the Wi-Fi indicator light will turn on, indicating a successful connection.
Ethernet Connection:
- Plug in the Ethernet cable: Connect one end of the Ethernet cable to the printer and the other end to your router or modem.
- Verify the connection: Check the network indicator on the printer’s display to ensure it’s connected.
5. Install Brother Printer Drivers
Drivers enable communication between your computer and the printer. Here’s how to install them:
- Download drivers from Brother’s website: Visit the Brother website, find your printer model, and download the latest drivers compatible with your operating system.
- Run the installation file: Open the downloaded file and follow the on-screen instructions to install the driver. If you used a CD, insert it and follow the prompts.
- Complete the setup: Once installed, restart your computer if prompted.
6. Configure Printer Settings and Print a Test Page
Once the drivers are installed, it’s time to configure the printer:
- Open the printer settings: On your computer, go to the printer settings or control panel, then select your Brother laser printer.
- Adjust preferences: Set your desired preferences, such as paper size, quality, and default settings.
- Print a test page: To confirm the setup, print a test page. This step helps ensure that everything is working correctly.
7. Connect to Mobile Devices (Optional)
If you want to print from mobile devices, Brother offers several solutions:
- Download Brother’s mobile app: Brother’s iPrint&Scan app allows you to print directly from Android and iOS devices.
- Enable AirPrint or Google Cloud Print: If supported, you can also use AirPrint for iOS or Google Cloud Print for Android devices, making wireless printing easy.
Troubleshooting Common Setup Issues
While setting up, you may encounter common issues. Here are a few quick fixes:
- Wi-Fi connection failure: If the printer can’t connect to Wi-Fi, restart both your router and printer, and make sure the Wi-Fi password is correct.
- Driver installation issues: Ensure that you’ve downloaded the correct drivers for your operating system. Re-download and reinstall if needed.
- Poor print quality: If prints are faded or streaky, check the toner cartridge. Sometimes, simply removing and reinstalling the cartridge can help.
Conclusion
Setting up your Brother laser printer doesn’t have to be complicated. By following these step-by-step instructions, you can get your printer up and running in no time. With everything properly configured, you’ll enjoy reliable, high-quality prints, whether you’re printing documents at home or handling more extensive print jobs at the office.


