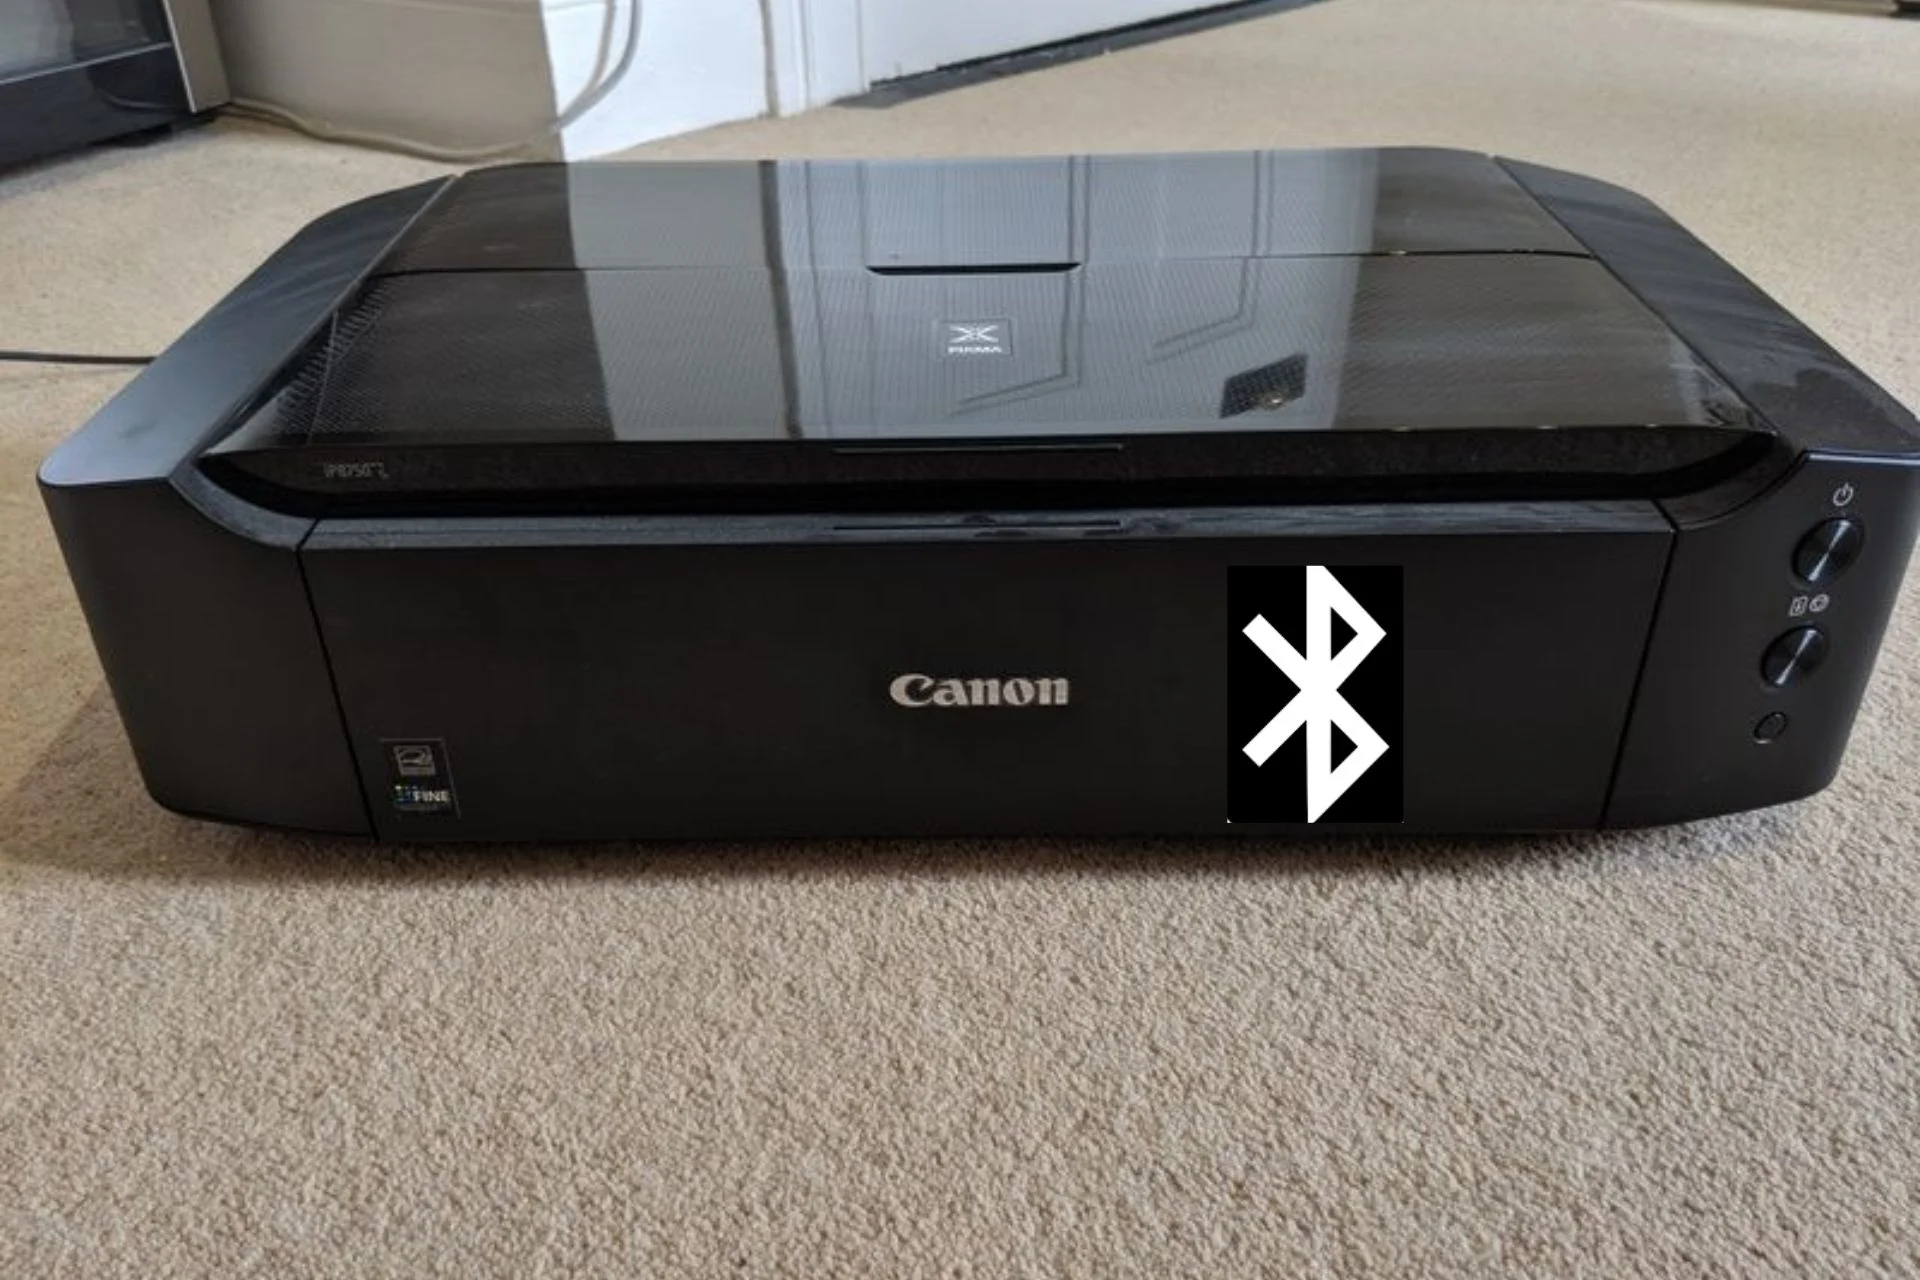
The Canon PIXMA TR4722 is a popular all-in-one printer designed for home and small office use. It offers a range of features, including wireless printing, which allows users to print from their computers, smartphones, or tablets without the need for physical cables. However, like any technology, the PIXMA TR4722 can sometimes encounter issues, particularly when it comes to connecting to a WiFi network. This article will explore common WiFi connection issues with the canon tr4722 setup, their potential causes, and step-by-step solutions to resolve them.
Common WiFi Connection Issues with PIXMA TR4722
Before diving into the solutions, it’s important to understand the common WiFi connection issues that users may encounter with the PIXMA TR4722:
- Printer Not Detecting WiFi Network: The printer fails to find or recognize the available WiFi networks.
- Incorrect WiFi Password: The printer cannot connect to the network due to an incorrect password.
- Printer Connects but Cannot Print: The printer connects to the WiFi network but fails to print documents.
- Intermittent Connection: The printer connects to the WiFi network but frequently disconnects.
- WPS Method Not Working: The printer fails to connect using the WPS (WiFi Protected Setup) method.
Read More: connect hp printer to laptop
Potential Causes of WiFi Connection Issues
Several factors can contribute to WiFi connection issues with the PIXMA TR4722:
- Weak WiFi Signal: The printer may be out of range of the WiFi router, resulting in a weak or unstable connection.
- Incorrect Network Settings: The printer may be configured with incorrect network settings, such as the wrong SSID or password.
- Router Compatibility Issues: Some routers may not be fully compatible with the printer’s WiFi capabilities.
- Firmware Outdated: The printer’s firmware may be outdated, causing connectivity issues.
- Interference: Other electronic devices or physical obstacles may interfere with the WiFi signal.
Step-by-Step Solutions to Resolve WiFi Connection Issues
Step 1: Check WiFi Signal Strength
- Position the Printer: Ensure the printer is within range of your WiFi router. Walls, furniture, and other obstacles can weaken the signal. Ideally, the printer should be placed in the same room as the router.
- Check Signal Strength: On the printer’s control panel, navigate to the WiFi settings and check the signal strength. If the signal is weak, consider moving the printer closer to the router or using a WiFi extender.
Step 2: Verify Network Settings
- Check SSID and Password: Ensure you are connecting to the correct WiFi network (SSID) and entering the correct password. Remember that passwords are case-sensitive.
- Re-enter Network Settings: If you suspect a typo, re-enter the network settings carefully. On the printer’s control panel, navigate to “Wireless LAN Setup” and select “Standard Setup.” Follow the prompts to re-enter the SSID and password.
3: Restart Devices
- Restart the Printer: Turn off the printer, wait a few seconds, and turn it back on. This can help reset the printer’s network settings.
- Restart the Router: Unplug the router from the power source, wait for about 30 seconds, and plug it back in. This can help resolve any temporary issues with the router.
- Restart Your Computer or Mobile Device: Restart the device you are using to connect to the printer. This can help refresh the network connection.
4: Update Printer Firmware
- Check for Firmware Updates: Visit the Canon website and check for any available firmware updates for the PIXMA TR4722. Download the latest firmware if available.
- Install Firmware Update: Follow the instructions provided by Canon to install the firmware update on your printer. This can help resolve any connectivity issues caused by outdated firmware.
5: Use WPS Method (if available)
- Check Router Compatibility: Ensure your router supports WPS (WiFi Protected Setup). Not all routers have this feature.
- Initiate WPS Connection: On the printer’s control panel, navigate to “Wireless LAN Setup” and select “WPS (Push Button Method).” Press the WPS button on your router within 2 minutes. The printer should automatically connect to the WiFi network.
6: Check for Interference
- Identify Interference Sources: Other electronic devices, such as cordless phones, microwaves, and baby monitors, can interfere with the WiFi signal. Identify and move these devices away from the printer and router.
- Change WiFi Channel: Log in to your router’s settings and change the WiFi channel to one with less interference. Channels 1, 6, and 11 are typically less crowded.
7: Reset Network Settings
- Reset Printer Network Settings: On the printer’s control panel, navigate to “Device settings” and select “Reset settings.” Choose “Reset LAN settings” to reset the network settings to factory defaults.
- Reconnect to WiFi: After resetting the network settings, follow the steps to reconnect the printer to your WiFi network.
8: Use a Wired Connection (Temporary Solution)
- Connect via USB: If you are unable to resolve the WiFi connection issue, consider connecting the printer to your computer using a USB cable as a temporary solution. This will allow you to continue printing while troubleshooting the WiFi issue.
- Install USB Drivers: Ensure you have the necessary USB drivers installed on your computer. These can be downloaded from the Canon website.
Advanced Troubleshooting Tips
1. Use the Canon PRINT App for Mobile Printing
The Canon PRINT app is a powerful tool that allows you to print, scan, and manage your printer from your smartphone or tablet. If you are experiencing WiFi connection issues, try using the app to connect to the printer. The app can sometimes bypass network issues and provide a more stable connection.
2. Set Up a Guest Network for Printers
If you have a guest WiFi network, consider connecting your Canon PIXMA TR4722 to this network. This can help secure your main network while still allowing guests to print documents. Just ensure that the guest network is password-protected to prevent unauthorized access.
3. Enable AirPrint (for iOS Devices)
If you’re using an iPhone or iPad, you can take advantage of Apple’s AirPrint feature, which allows you to print directly from your device without installing additional apps. Ensure your Canon PIXMA TR4722 is connected to the same WiFi network as your iOS device, and select the printer from the print menu in any app.
4. Contact Canon Support
If you have tried all the above solutions and are still experiencing WiFi connection issues, it may be time to contact Canon support. They can provide additional troubleshooting steps or determine if there is a hardware issue with your printer.
Conclusion
WiFi connection issues with the Canon PIXMA TR4722 can be frustrating, but they are often resolvable with a bit of troubleshooting. By following the steps outlined in this guide, you can identify and resolve common WiFi connection problems, ensuring that your printer remains connected and ready to print. Whether you’re dealing with a weak signal, incorrect network settings, or outdated firmware, these solutions should help you get your PIXMA TR4722 back online and functioning smoothly.
Remember, if all else fails, don’t hesitate to reach out to Canon support for further assistance. With the right approach, you can enjoy the convenience of wireless printing and make the most of your Canon PIXMA TR4722.