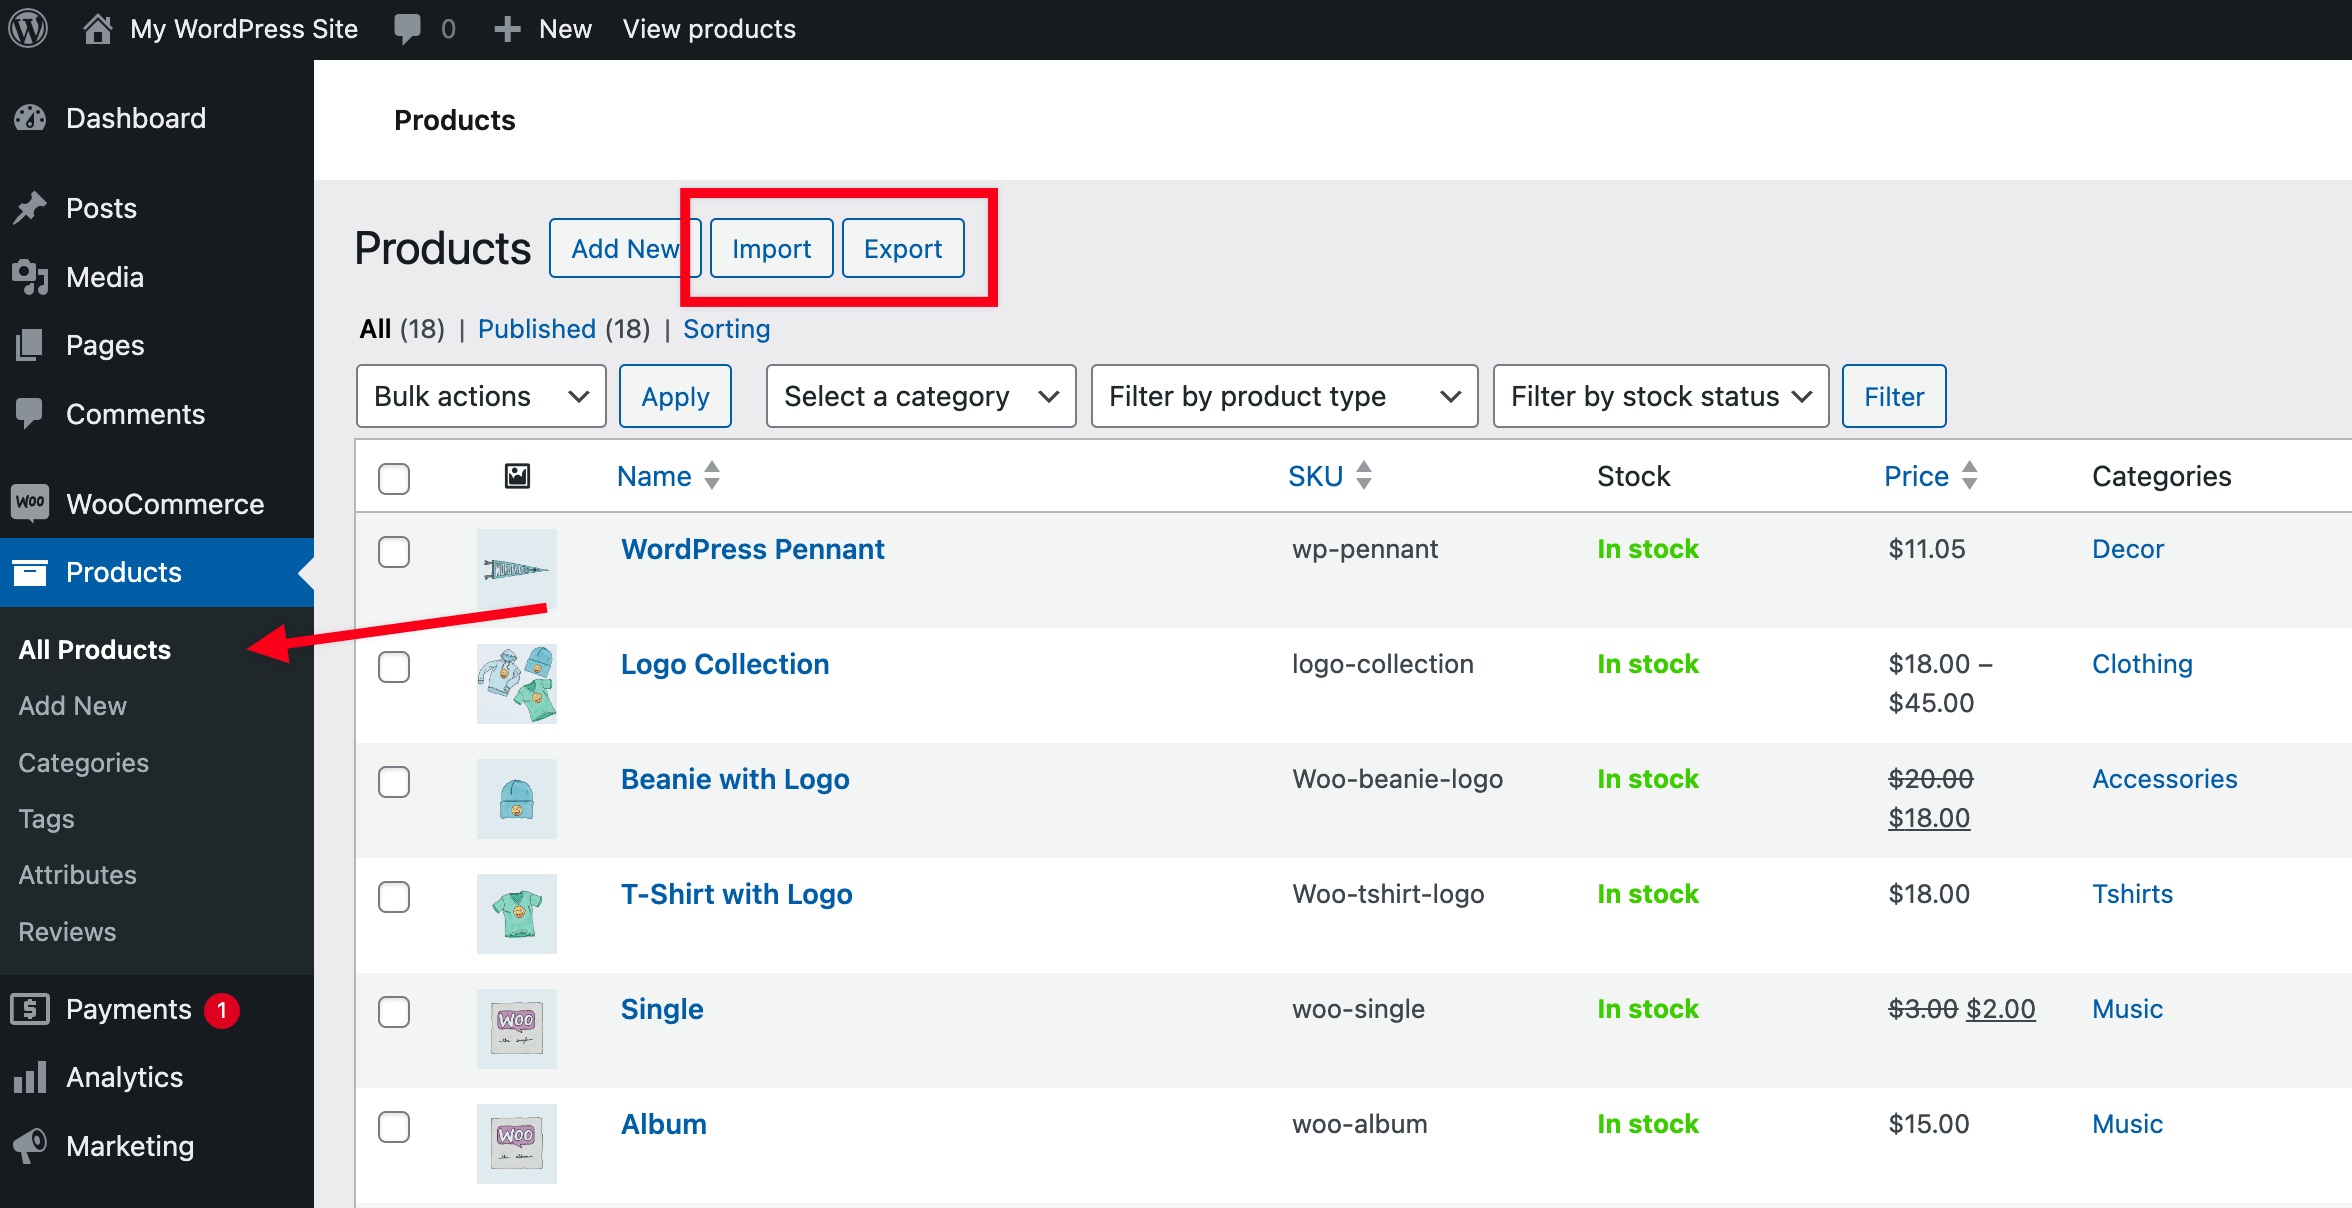
If you’re running an online store with WooCommerce, managing your inventory effectively is essential. One way to do this efficiently is by uploading products in bulk using a CSV file. The WooCommerce upload products CSV feature allows you to save time and effort, especially if you have a large number of products to manage. In this article, we’ll guide you through the process of uploading products via a CSV file on the My Account page, with a focus on using tools like the WooCommerce Product CSV Import Suite and plugins like Extendons.
Why Upload Products Using CSV?
Uploading products individually in WooCommerce can be time-consuming, particularly if you’re managing an extensive inventory. CSV (Comma Separated Values) files offer a simple and efficient way to bulk upload or update product details, including:
– Product names
– Descriptions
– Prices
– Categories
– Images
– Stock information
The WooCommerce upload file feature allows store owners to seamlessly manage all these details from one location, reducing the hassle of manually entering product data.
### How to Upload Products CSV in WooCommerce via My Account Page
Here’s a step-by-step guide on how to use the WooCommerce upload products CSV feature:
Step 1: Create a CSV File
First, you need to create a CSV file with all your product details. You can either use a spreadsheet software like Microsoft Excel or Google Sheets to create a CSV file or export an existing product list from WooCommerce.
Your CSV file should include columns like:
– Product Name
– SKU (Stock Keeping Unit)
– Regular Price
– Sale Price (optional)
– Stock Status
– Categories
– Tags
– Short Description
– Product Images (URL format)
WooCommerce provides a sample CSV file that you can use as a template. Make sure your file follows this format to avoid upload errors.
Step 2: Install and Set Up Extendons Plugin
To enable CSV upload directly on the My Account page, you need a plugin. One such plugin that stands out is Extendons WooCommerce Product CSV Import Export plugin. It simplifies the entire process by allowing you to upload CSV files easily without going through the admin dashboard.
1. Install Extendons:
– Go to the WordPress dashboard.
– Navigate to “Plugins” > “Add New”.
– Search for “Extendons WooCommerce Product CSV Import Export” and install it.
– Activate the plugin.
2. Configure Settings:
– After installation, you can access the plugin settings from the WooCommerce menu in your WordPress dashboard.
– Set up options such as CSV file validation, category mapping, and stock status updates.
3. Enable CSV Upload on My Account Page:
– Extendons allows store managers to add a CSV upload option to the My Account page, making it easy for users to upload files directly from their account.
Step 3: Upload the CSV File via My Account Page
Once the plugin is set up, users will see the option to upload a CSV file under their My Account section.
– Log in to your WooCommerce account.
– Navigate to the “My Account” page.
– Look for the WooCommerce upload file section provided by Extendons.
– Select the CSV file you prepared and click “Upload.”
After uploading, the plugin will automatically import the products based on the data in the CSV file. Any errors in the CSV file (such as missing fields or incorrect formatting) will be flagged, and you can correct them before completing the import process.
Step 4: Verify the Upload
Once the CSV file has been uploaded successfully, go to your WooCommerce store and verify that all the products have been added correctly. If you need to make any changes, you can edit the product details directly from your WordPress dashboard or update the CSV file and re-upload it.
Benefits of Using Extendons WooCommerce Product CSV Import Plugin
– Ease of Use: Extendons offers a user-friendly interface that allows anyone to upload products without needing technical expertise.
– Bulk Upload: Save time by uploading hundreds or even thousands of products in one go.
– Error Handling: The plugin flags any issues with the CSV file before importing, preventing partial or incorrect product uploads.
– Custom Mapping: Extendons allows you to map columns in the CSV file to the appropriate WooCommerce fields, ensuring accurate product information.
Frequently Asked Questions (FAQs)
1. Can I use a CSV file to update existing products?
Yes, you can use the WooCommerce upload products CSV feature to update existing products. When uploading, ensure the SKU matches the existing product in your store. The CSV will update any corresponding details.
2. What file format should I use for the CSV upload?
The file must be in CSV format. You can create or export this using spreadsheet programs like Excel, Google Sheets, or even a text editor.
3. What happens if there’s an error in my CSV file?
If there’s an issue with your CSV file, the Extendons plugin will notify you of the error. You can fix the error in your file and try uploading again.
4. Can I include product images in my CSV upload?
Yes, you can include product images by providing the URL link to the image in the appropriate column. WooCommerce will fetch the image from the link during the upload process.
5. Do I need coding skills to upload products via CSV?
No, you don’t need any coding skills. With plugins like Extendons, the WooCommerce upload file process is straightforward and user-friendly.
Conclusion
Using the WooCommerce upload products CSV feature is a powerful way to streamline the management of your online store’s product inventory. By using tools like the Extendons WooCommerce Product CSV Import Export plugin, you can upload products directly from the My Account page, saving you time and effort. Whether you’re updating your product list or adding new items in bulk, CSV uploads provide a hassle-free solution for WooCommerce store owners.

